

Getting started with PullFlow
PullFlow integrates GitHub, Slack, and VS Code to streamline code review collaboration by synchronizing pull requests (PRs) across platforms. This guide walks you through the setup process, enabling you to get started quickly.
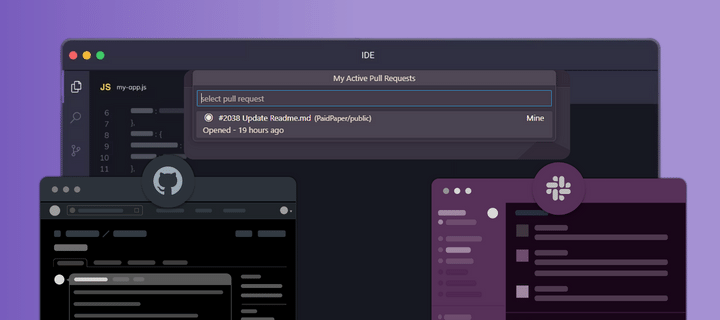
Take a tour of PullFlow
PullFlow minimizes distractions and context switching, enabling teams to collaborate more efficiently and reduce time-to-merge by upto 4X.
Setting up PullFlow
Follow these steps to configure PullFlow for your team:
Step 1: Sign up and authorize
- Go to PullFlow: Visit app.pullflow.com and log in using your Slack account.
- Authorize GitHub access: After logging in with Slack, you’ll be prompted to
connect PullFlow to your GitHub account.
- Ensure you have admin permissions for your GitHub organization to configure repository connections with PullFlow. Admin permissions on GitHub are mandatory for this step.
- Slack admin permissions are not required. You can connect PullFlow to Slack without being a Slack admin, provided your workspace settings allow app integrations.
- If you’re not a GitHub admin, you can still connect your Slack and GitHub accounts. However, your admin must preconfigure the repository and Slack connections.
Notes for non-admin users
If you’re a team member joining an existing PullFlow setup, you can still collaborate seamlessly without admin rights. Follow these steps:
- Collaborate in Slack: Once logged in, create a PR or add a comment on an existing PR to start collaborating!
- Log in: Use the Slack invite from the PullFlow bot to login to PullFlow or login at [app.pullflow.com] (app.pullflow.com).
- Authorize GitHub: When prompted, connect your GitHub account to PullFlow.
Step 2: Connect repositories to Slack channels
- Select or create a Slack channel: Choose the Slack channel where PR updates will appear, or create a new one for PullFlow collaboration.
- Invite the PullFlow bot: In Slack, use the
/invite @Pullflowcommand in the desired channel to invite the bot. - Link repositories: When prompted, select the GitHub repositories you want to connect to the channel.
Step 3: Test your setup
- Create a PR: Open a pull request in the connected GitHub repository.
- Verify synchronization: Confirm that PullFlow creates a corresponding thread in the Slack channel.
- Test collaboration:
- Post a message in the Slack thread and verify that it appears on the PR on GitHub.
- Edit the message in GitHub and confirm the changes are reflected in Slack.
Collaborating in PullFlow
Using PullFlow in Slack
- Review PRs: Use commands like
@Pullflow request review from @Johnto manage PRs directly in Slack. - Add context: Add comments, labels, or approvals using Slack threads.
- Workflow commmands: Say things like
@Pullflow this looks good to meto approve a PR.
Important: Make sure you’re logged into your work Slack and GitHub accounts to ensure PullFlow functions correctly.
For more details, refer to the PullFlow command guide.
After setting up PullFlow for your workspace as the first user (the one who connects Slack and GitHub for the team), you’ll be redirected to Slack to begin using the integration.
Troubleshooting
Common issues
- Missing permissions:
- If you can’t link repositories or invite the bot, check with your admin to ensure you have the necessary permissions.
- Sync issues:
- Verify that the PullFlow bot is active in the Slack channel. Reinvite it
with
/invite @Pullflowif needed.
- Verify that the PullFlow bot is active in the Slack channel. Reinvite it
with
Getting help
- Live support: Reach out via support.pullflow.com for assistance during onboarding.
- Documentation: Access troubleshooting guides for setup and configuration.
Key setup checklist
- ✅ Slack account connected
- ✅ GitHub repositories linked
- ✅ PullFlow bot invited to channels
- ✅ Pull request synchronization verified